

Hello! 😊
Today I will share with you my first cake recipe – blueberry cake in the shape of a butterfly! 🦋
If you would also like to watch an instructional video, you can find the video at the bottom of the page or on my YouTube channel @bakingwithnika. I recommend watching the video while still reading through the written recipe, simply to make sure that you don`t miss anything.
Always read the entire recipe before you start baking to make sure that you have all of the ingredients and baking tools ready to use when you need them.

INGREDIENTS:
Vanilla cake:
- 250 g eggs (5 medium size eggs)
- 200 g granulated sugar
- 165 ml (sunflower) oil
- 165 ml whole milk
- 1 tbsp vanilla extract
- 315 g flour
- 10 g baking powder
Blueberry layer:
- 450 g frozen blueberries
- 60 g granulated sugar
- 4 leaves of gelatine
Swiss meringue buttercream:
- 250 g egg whites
- 500 g granulated sugar
- 500 g butter
- purple food colouring (optional)
Decoration:
- white chocolate couverture (optional)
- silver edible pearls (optional)
- swiss meringue buttercream (optional)
INSTRUCTIONS FOR VANILLA CAKE:
1. For vanilla cake, add eggs and granulated sugar into a mixer bowl.
2. Using an electric mixer and a whisk attachment, mix those two ingredients for about 10 – 15 minutes on the highest speed. The mixture should increase in volume and lighten in colour.
3. After 15 minutes, decrease the mixing speed to medium and add oil, milk and vanilla extract. Mix for about one more minute.
4. In a separate bowl, mix together flour and baking powder.
5. Now you can add flour and baking powder to the egg mixture. Combine all of the ingredients by hand, using a spatula or a hand whisk. Be careful not to overmix!
6. Prepare a 25 cm cake tin and pour in the cake batter.

7. Bake the cake for about 35 to 40 minutes at 180°C.
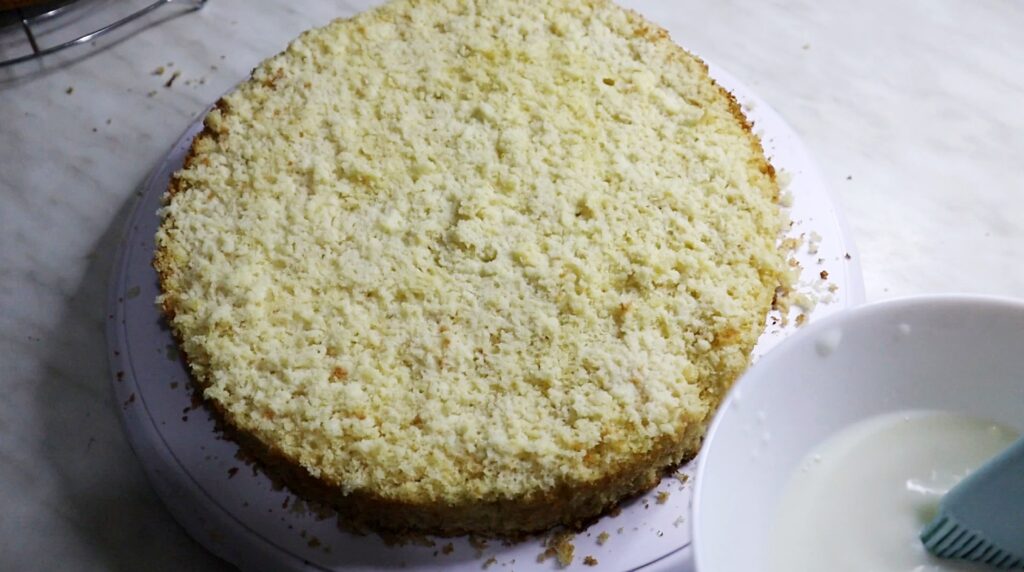
8. When the baking time is up, let the cake cool down.
10. Then take the cake out of the tin and, using a bread knife, cut the cake into two halves.

INSTRUCTIONS FOR BLUEBERRY LAYER:
11. For the blueberry layer, prepare a bowl full of cold water. Put 4 leaves of gelatine into the water, one by one. Leave them in the water for about 10 minutes.
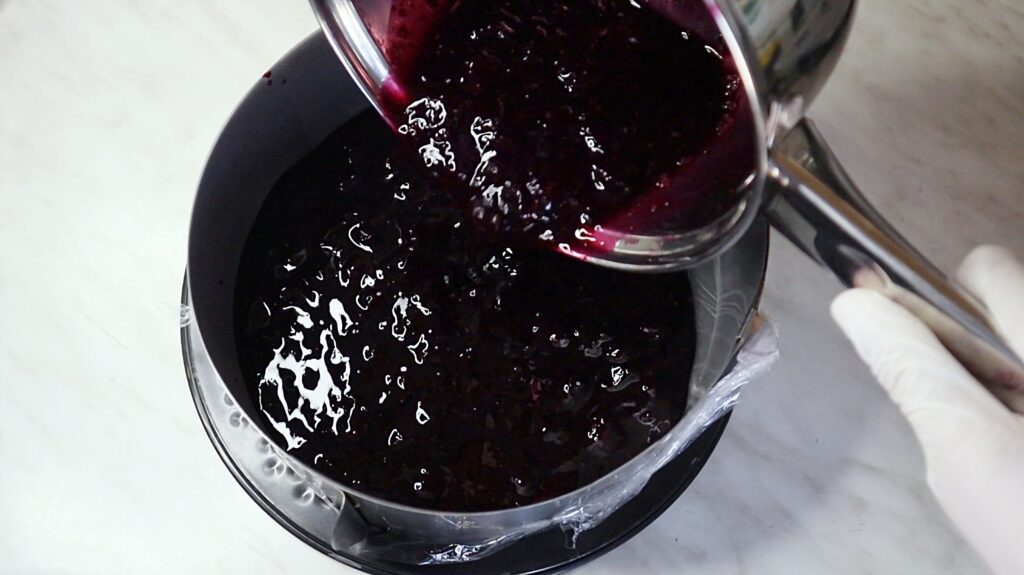
12. Meanwhile, put frozen blueberries and granulated sugar into a saucepan. Cook blueberries until they break apart. Let the mixture come to a low boil while mixing all the time with a wooden spoon or silicone spatula.
13. Then take the bowl with gelatine, take one leaf out of the water and squeeze it with your hand to get out the excess water. Then add the leaf to the blueberries and mix until it completely dissolves. Repeat the same process with the other three leaves, adding one by one.
14. Then let the mixture to slightly cool down, before pouring it into a 22 cm loose base cake tin. Make sure to put acetate foil on the inner sides of the tin first!
15. Then put it in the freezer for at least an hour.
INSTRUCTIONS FOR SWISS MERINGUE BUTTERCREAM:
1. For Swiss meringue buttercream put a heatproof bowl over simmering water. Then add egg whites and granulated sugar into the bowl.
2. Heat up the mixture to 63°C. (While it’s heating up, don’t forget to mix it all the time with a silicone spatula!)
3. As soon as it reaches the previously mentioned temperature, transfer it into a stand mixer bowl and mix at full speed until the bowl completely cools down.
4. Before adding butter, switch the mixer to medium speed.
5. Now you can add softened, smaller blocks of butter. Do not turn off the mixer! When you can see that the cream is starting to form, you can increase the mixing speed for a few moments. Then you can turn off the mixer and use a spatula to scrape off any butter that might have gotten stuck at the bottom of the bowl, and turn on the mixer for a few more moments until the cream is done.
6. If you want to colour the buttercream, you can now add food colouring and mix the cream with a spatula until you get the colour you like.
INSTRUCTIONS FOR THE BUTTERFLY CAKE:
1. Take the bottom layer of the vanilla cake and soak it with some milk.
2. Take the blueberry layer out of the freezer, take it out of the cake tin, remove the acetate foil and put it on the centre of the bottom cake layer.

3. Now put some buttercream into a piping bag and use it to fill the gap around the blueberry layer.
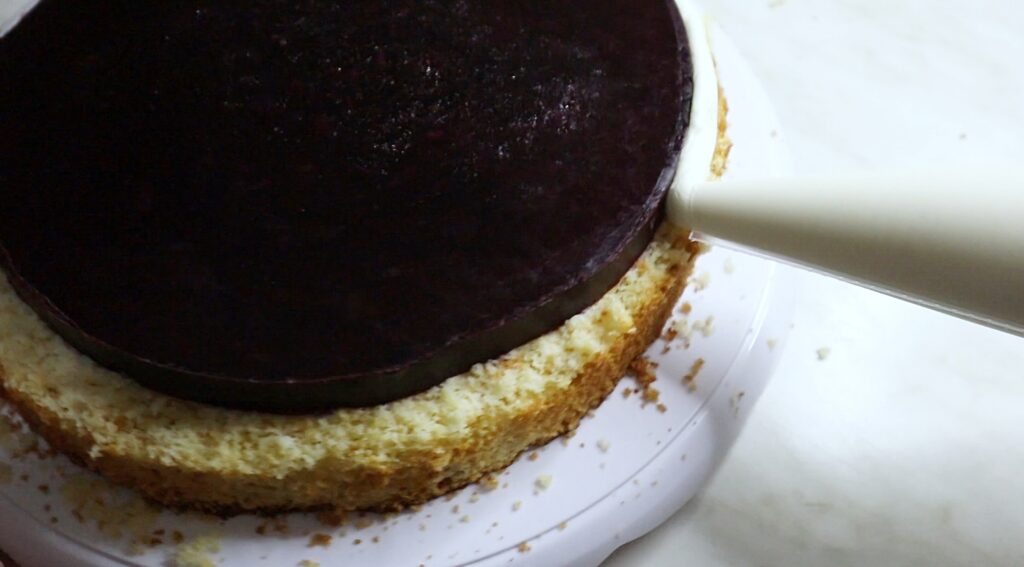
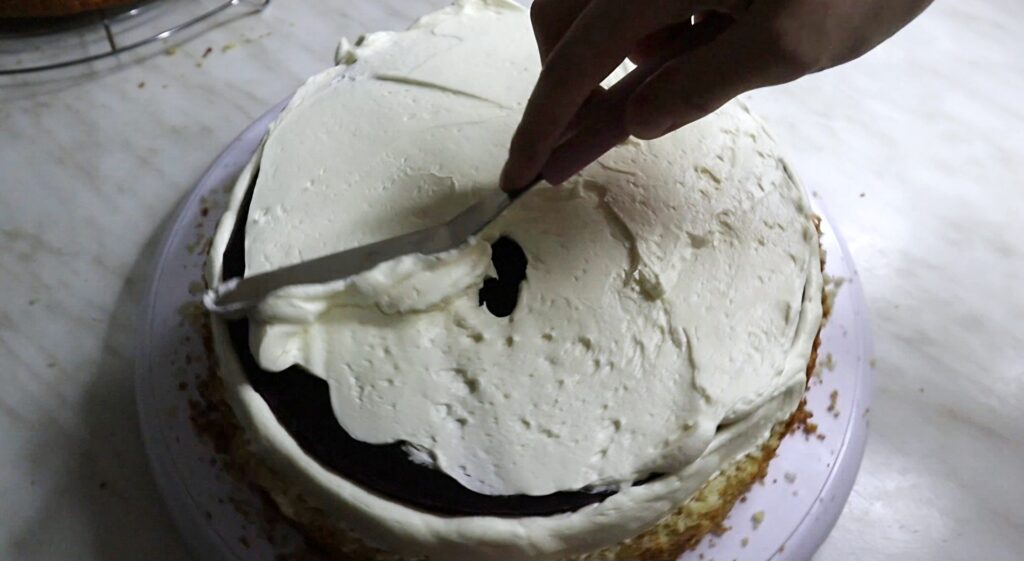
4. Put some more buttercream on top of the blueberry layer and spread it evenly with an offset spatula.
5. Take the top cake layer and turn it upside down before putting it on the buttercream layer. Soak this layer with milk as well.

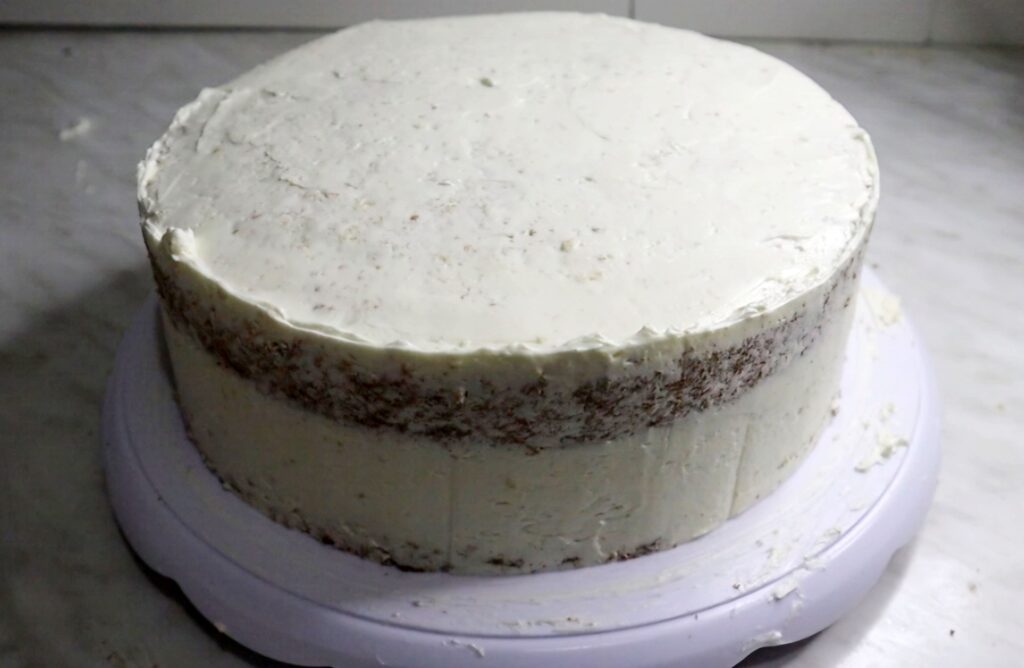
6. Now crumb coat the cake. Pipe buttercream all around the cake and then spread it evenly by using an offset spatula and a cake scraper. In the photo under this paragraph, you can see what a crumb-coated cake looks like. Then put the cake into the freezer for at least fifteen minutes.
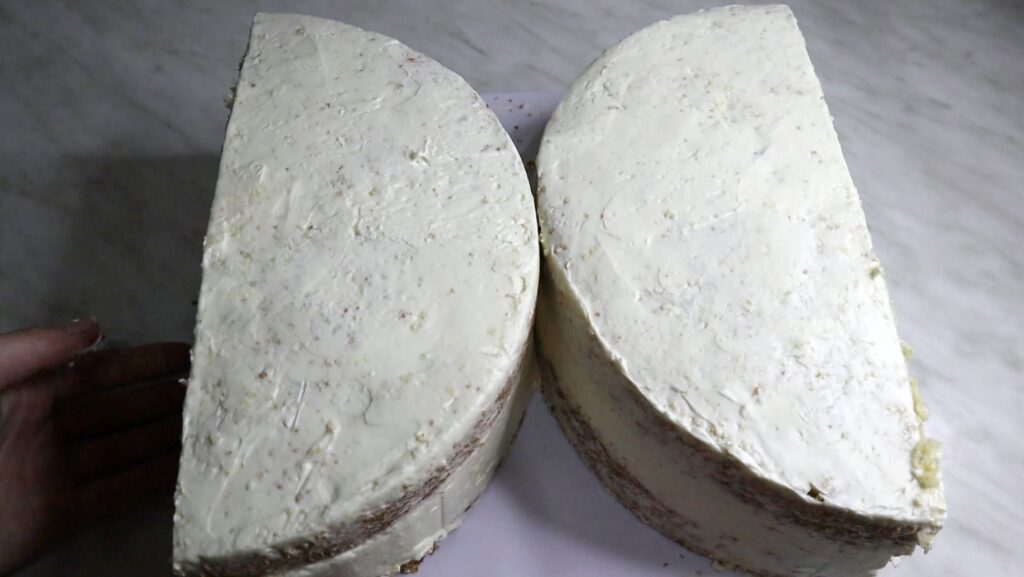
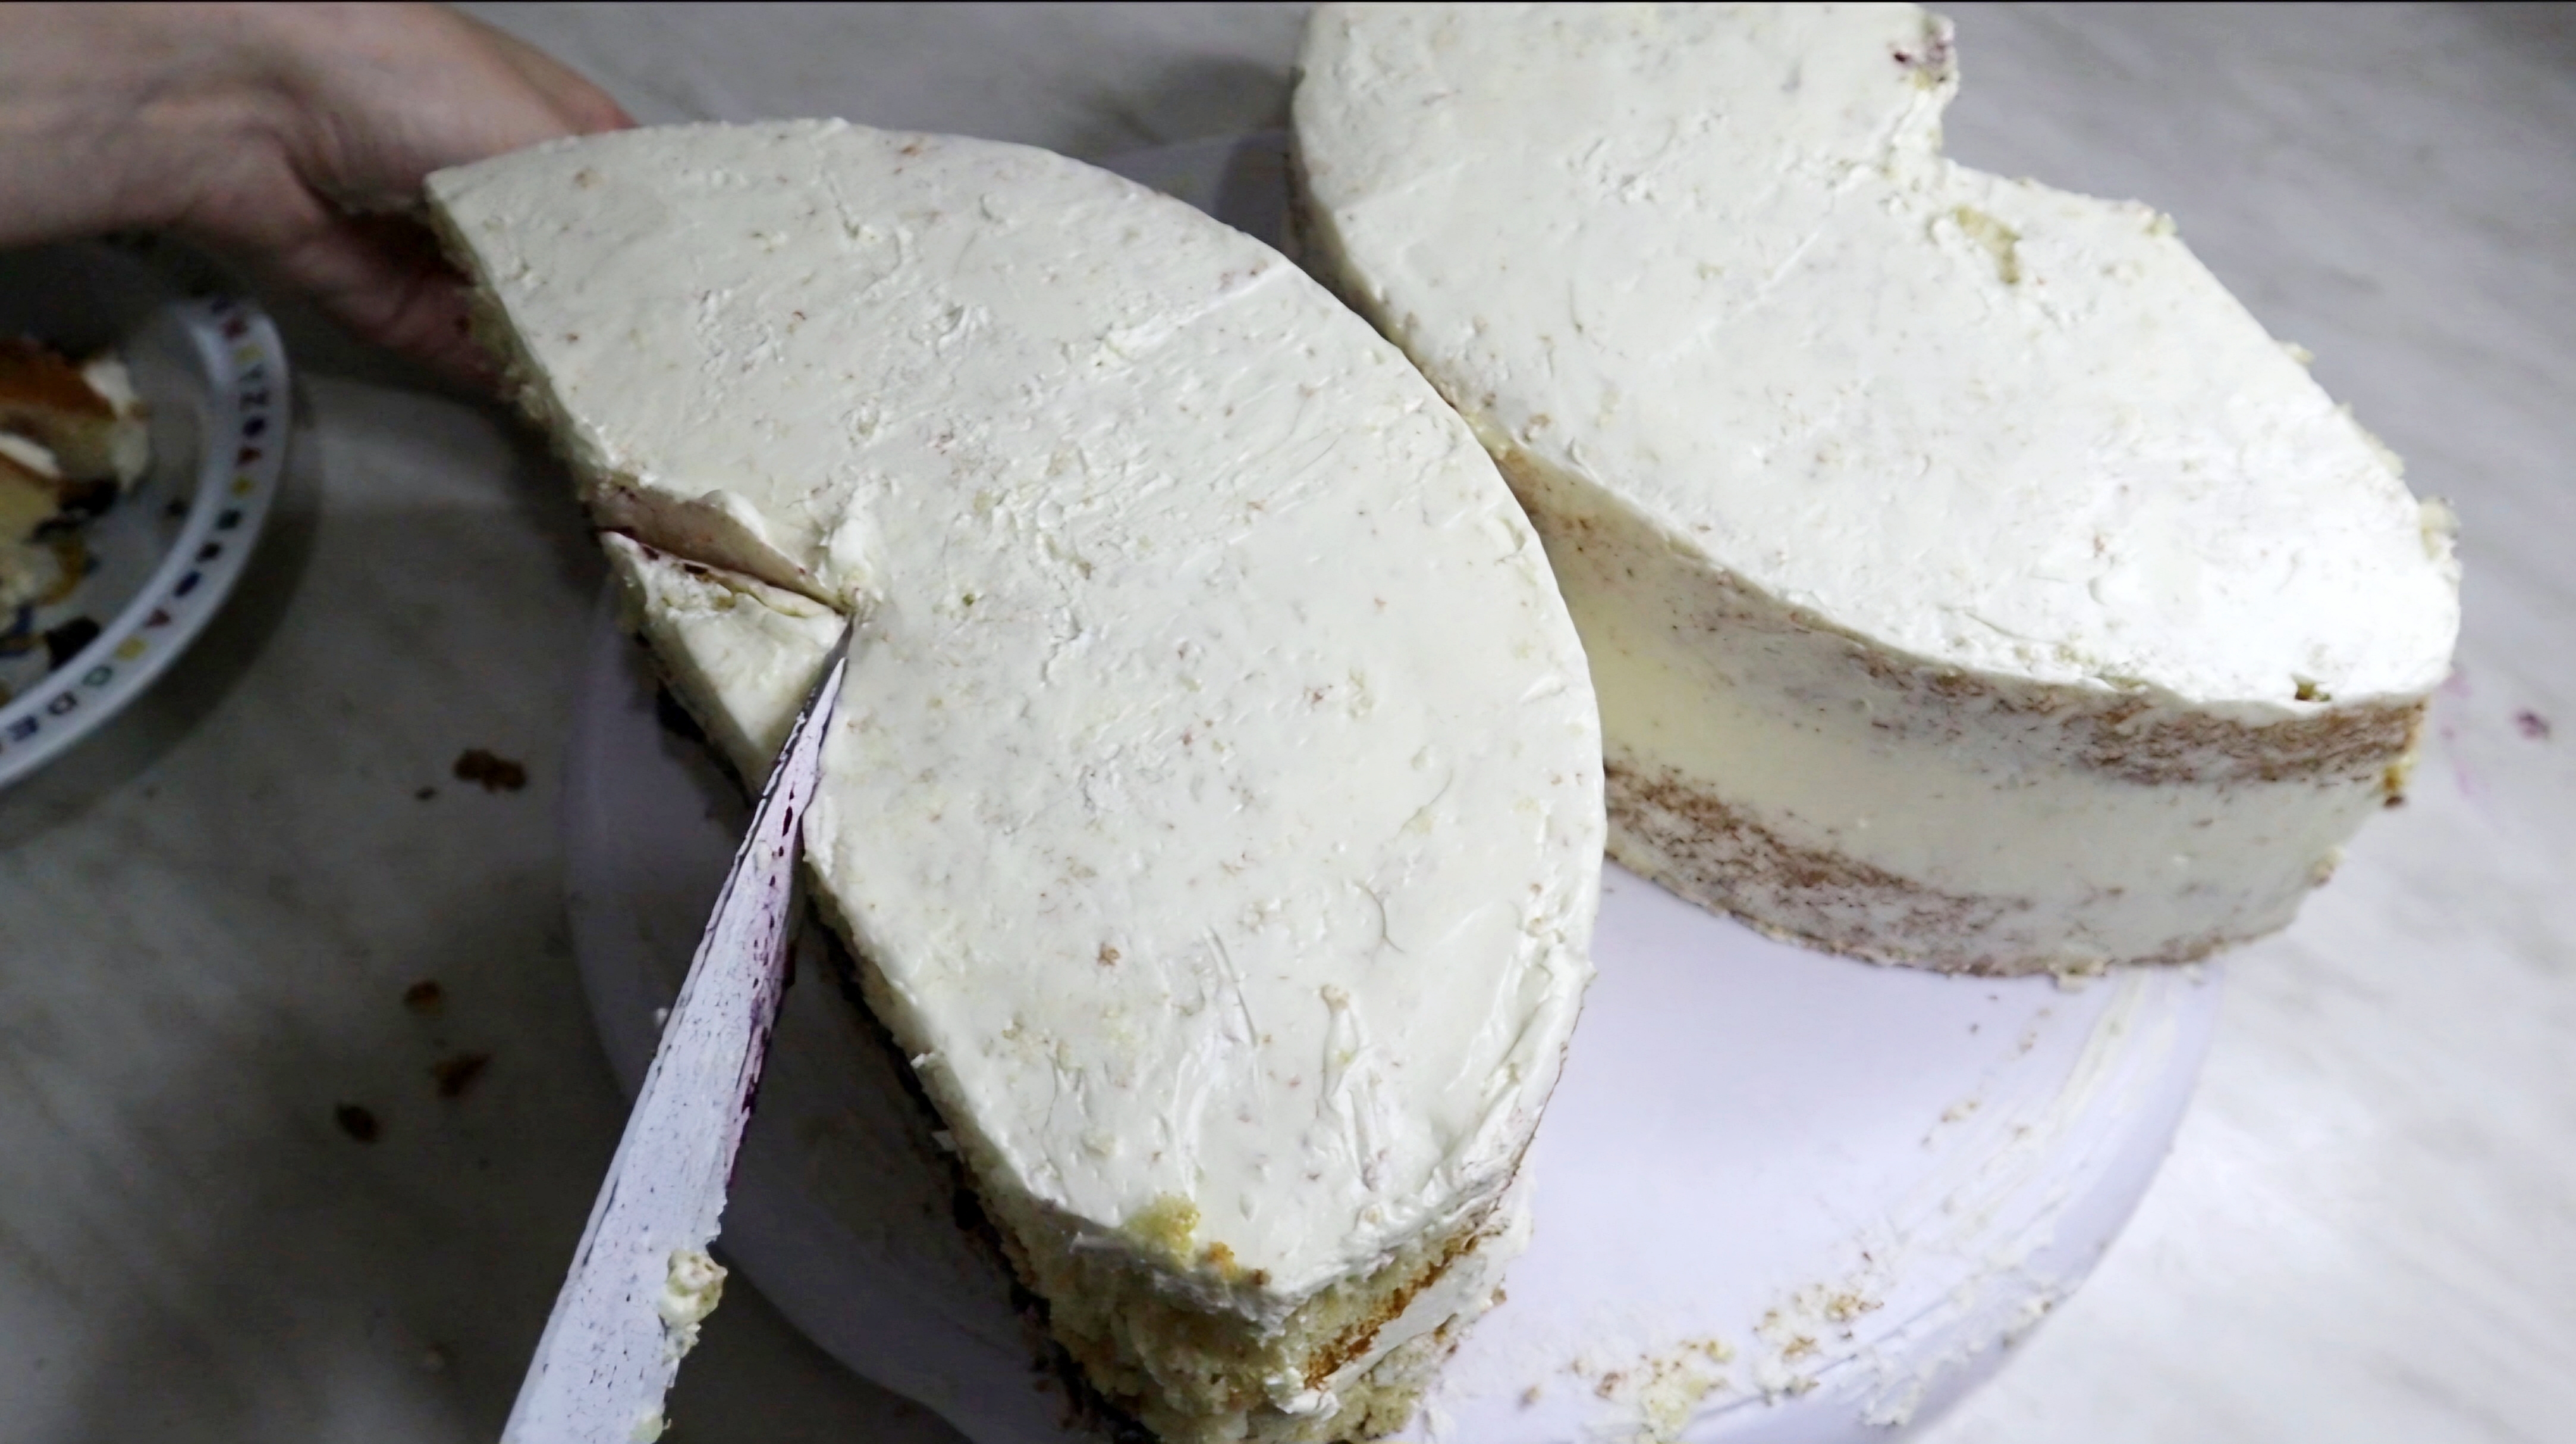
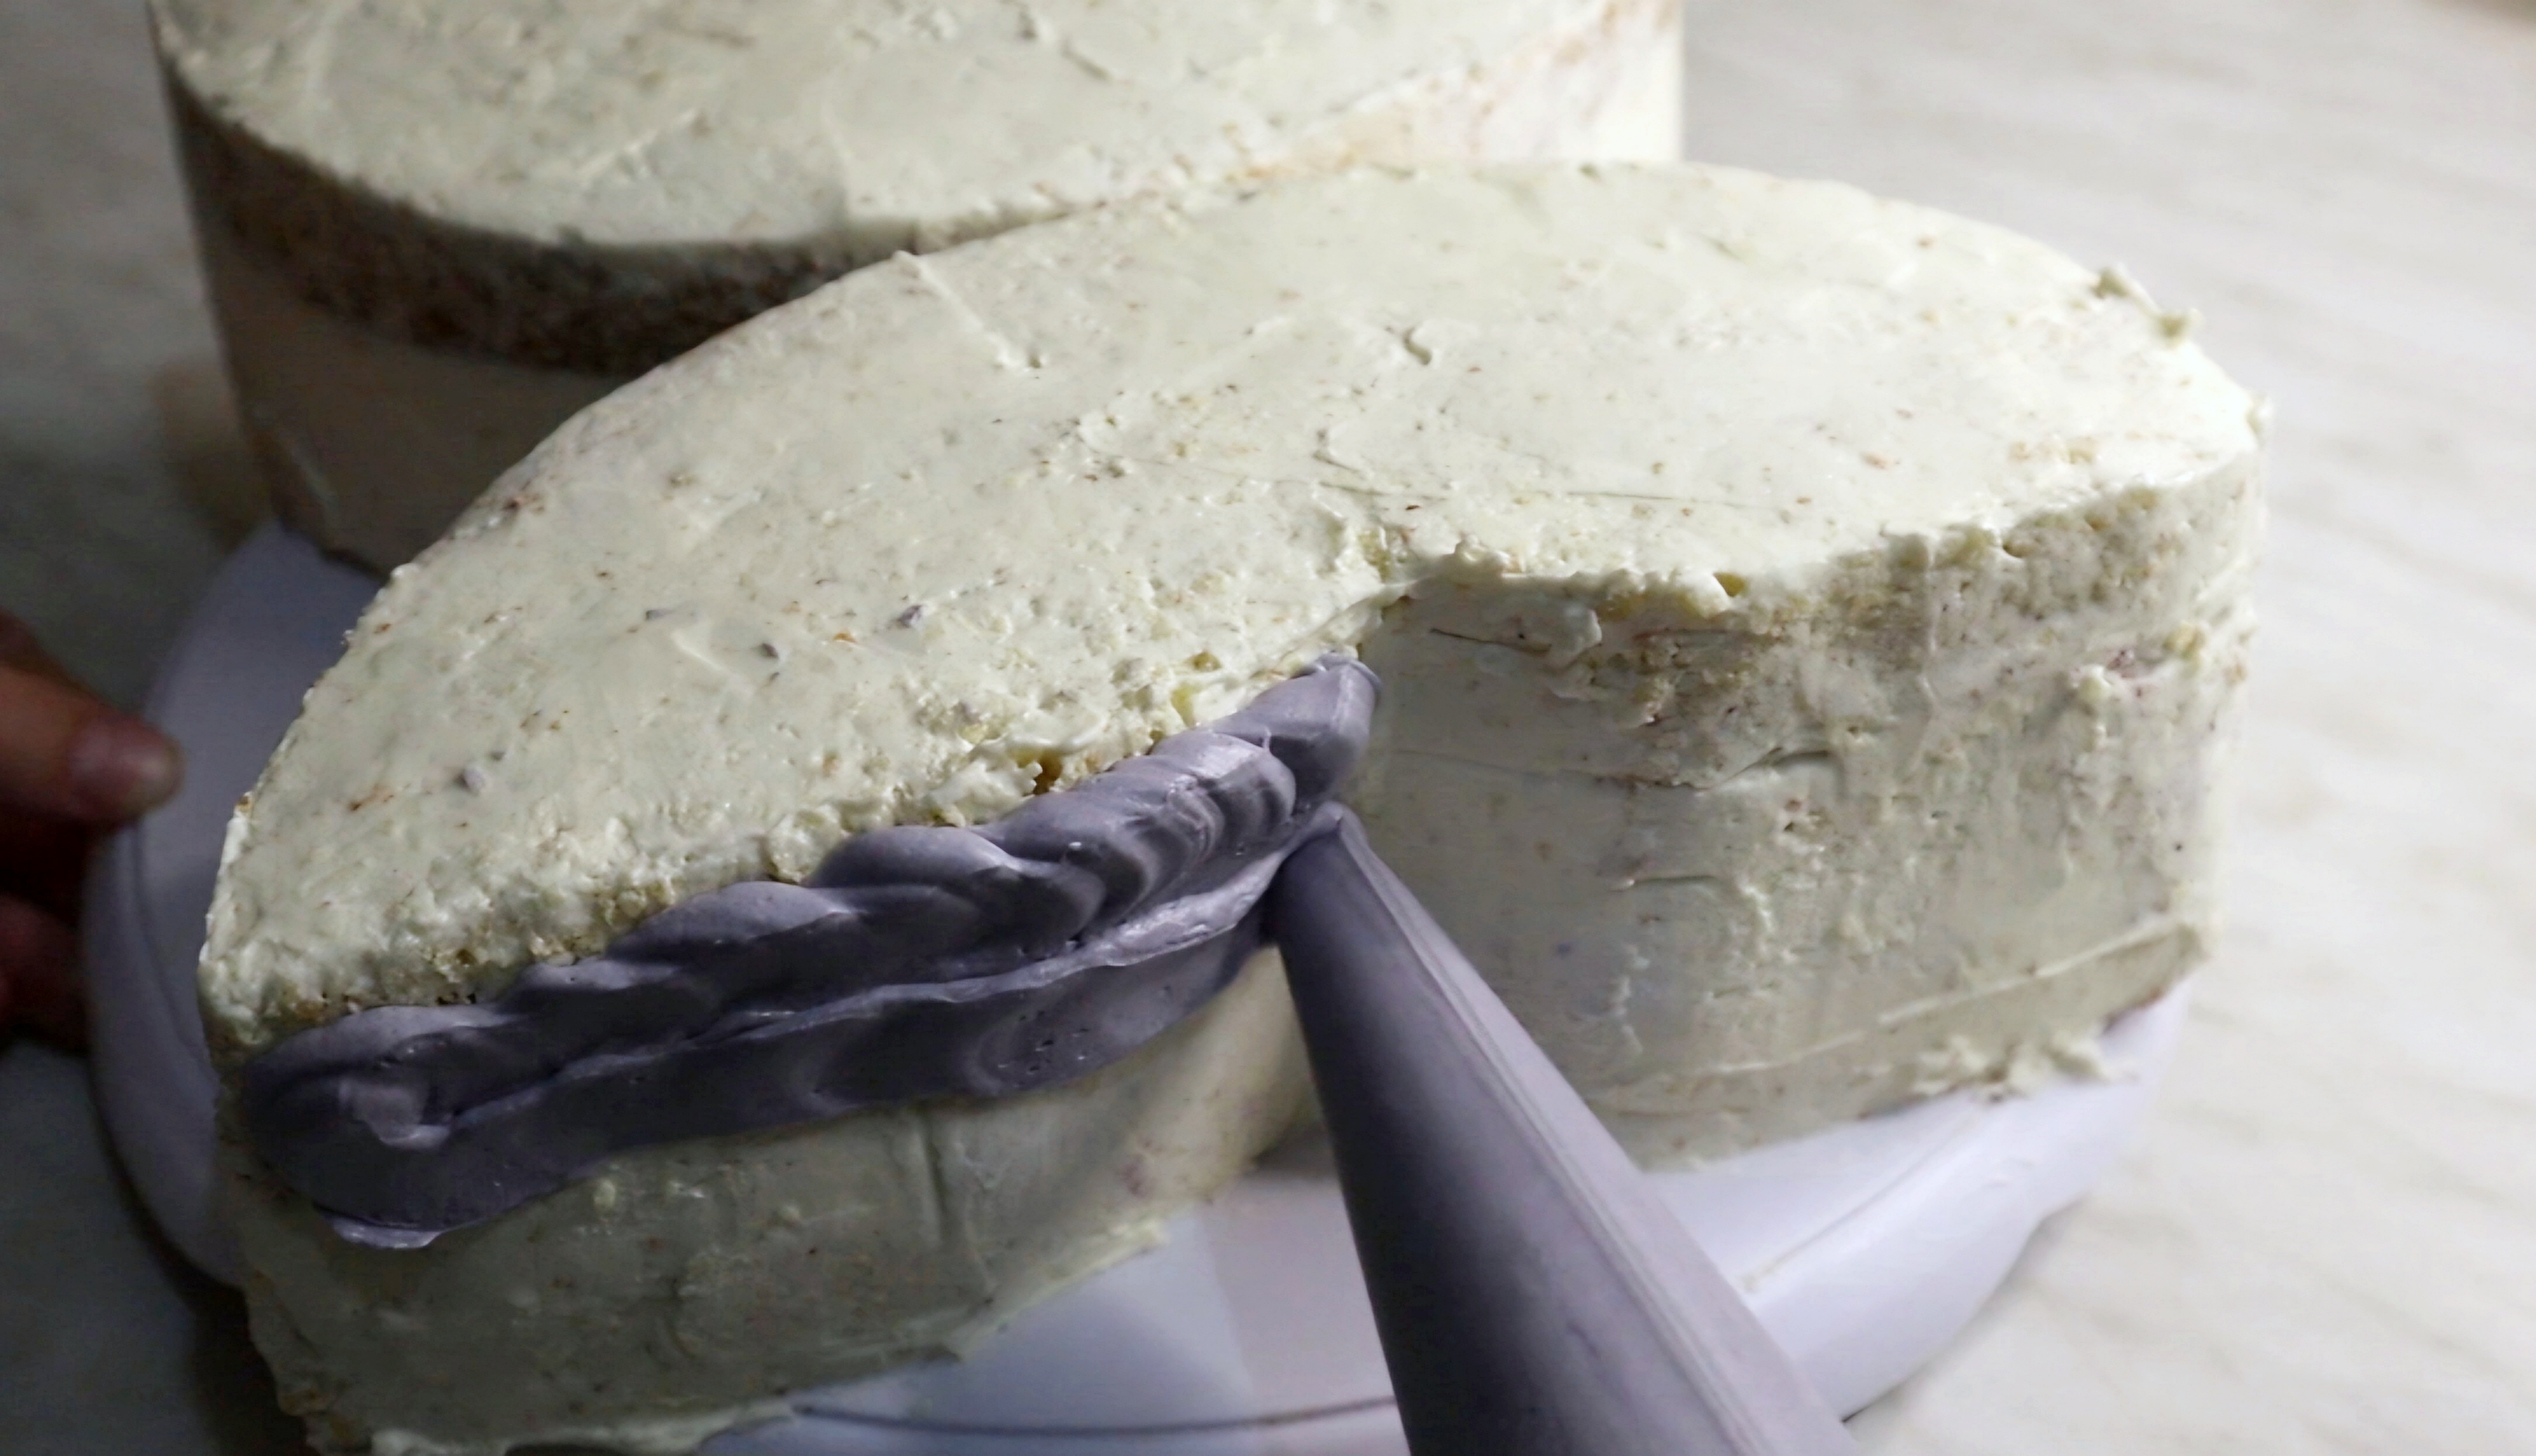
7. After fifteen minutes you can take the cake out of the freezer. Take a long knife and cut the cake in half. Then rotate each half for 180° as seen in the photo under this paragraph.

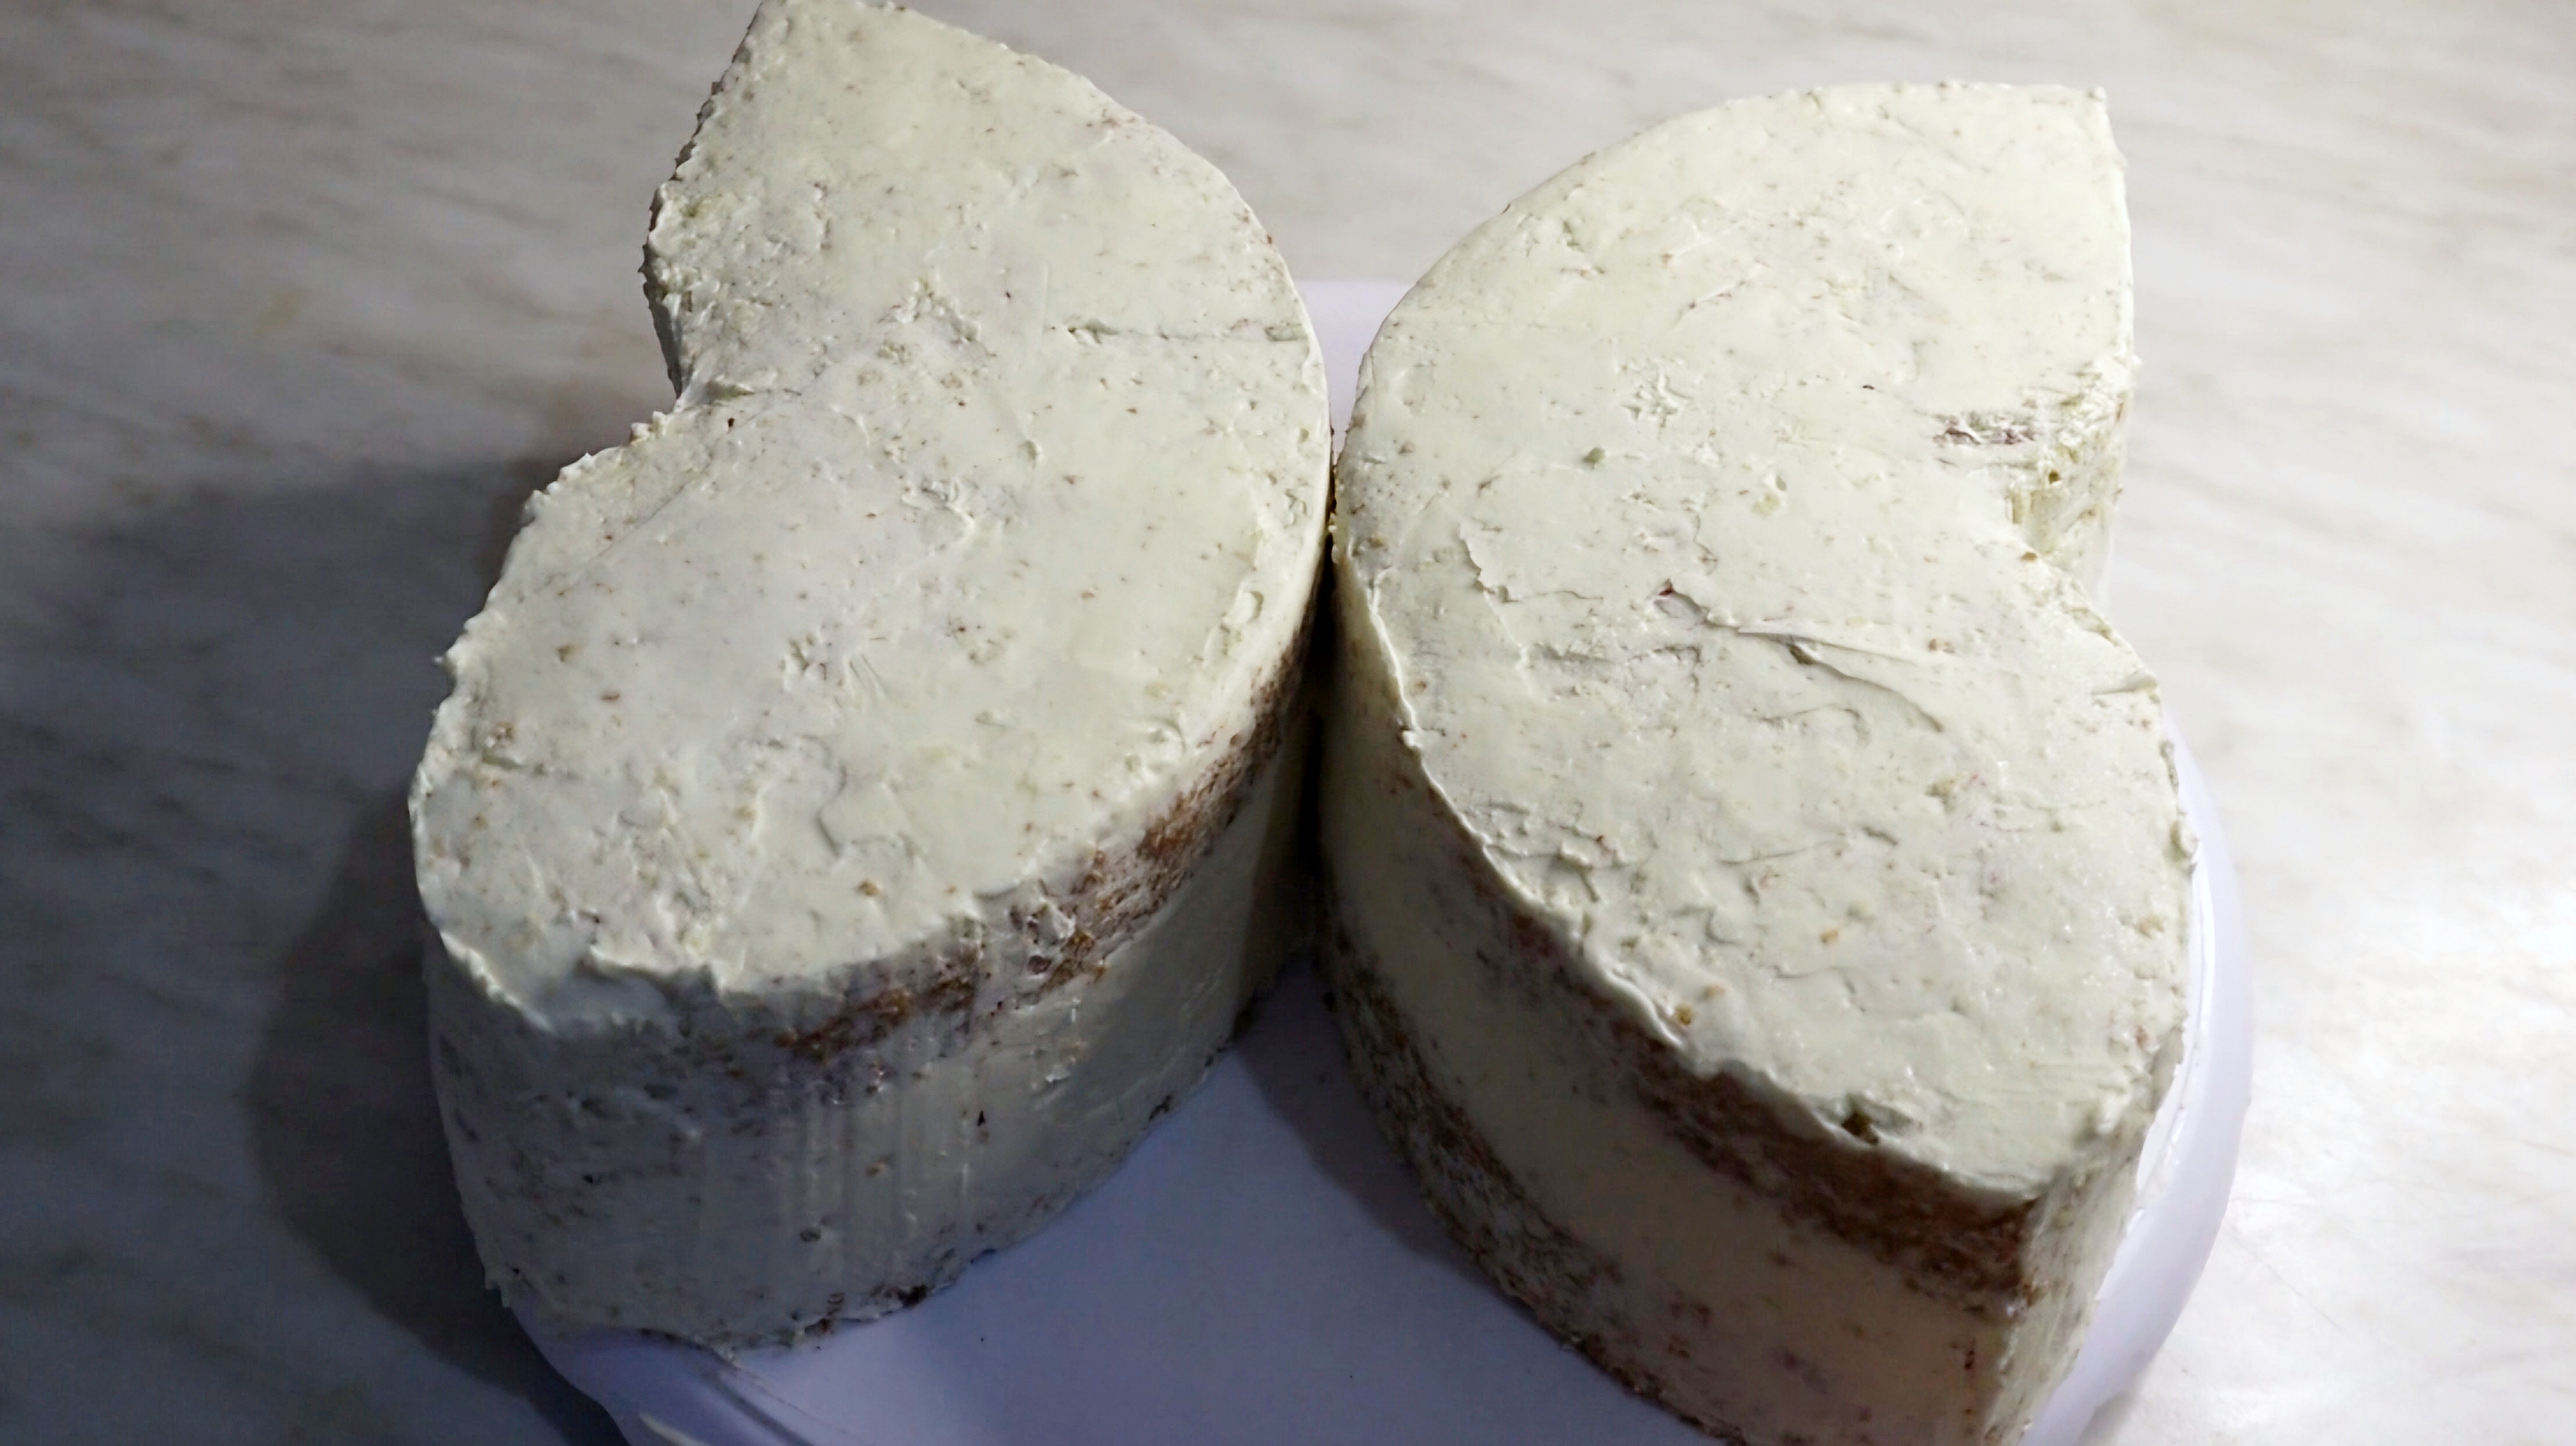
10. By cutting edges you can create any shape of the butterfly wings that you want (or leave them as they already are).
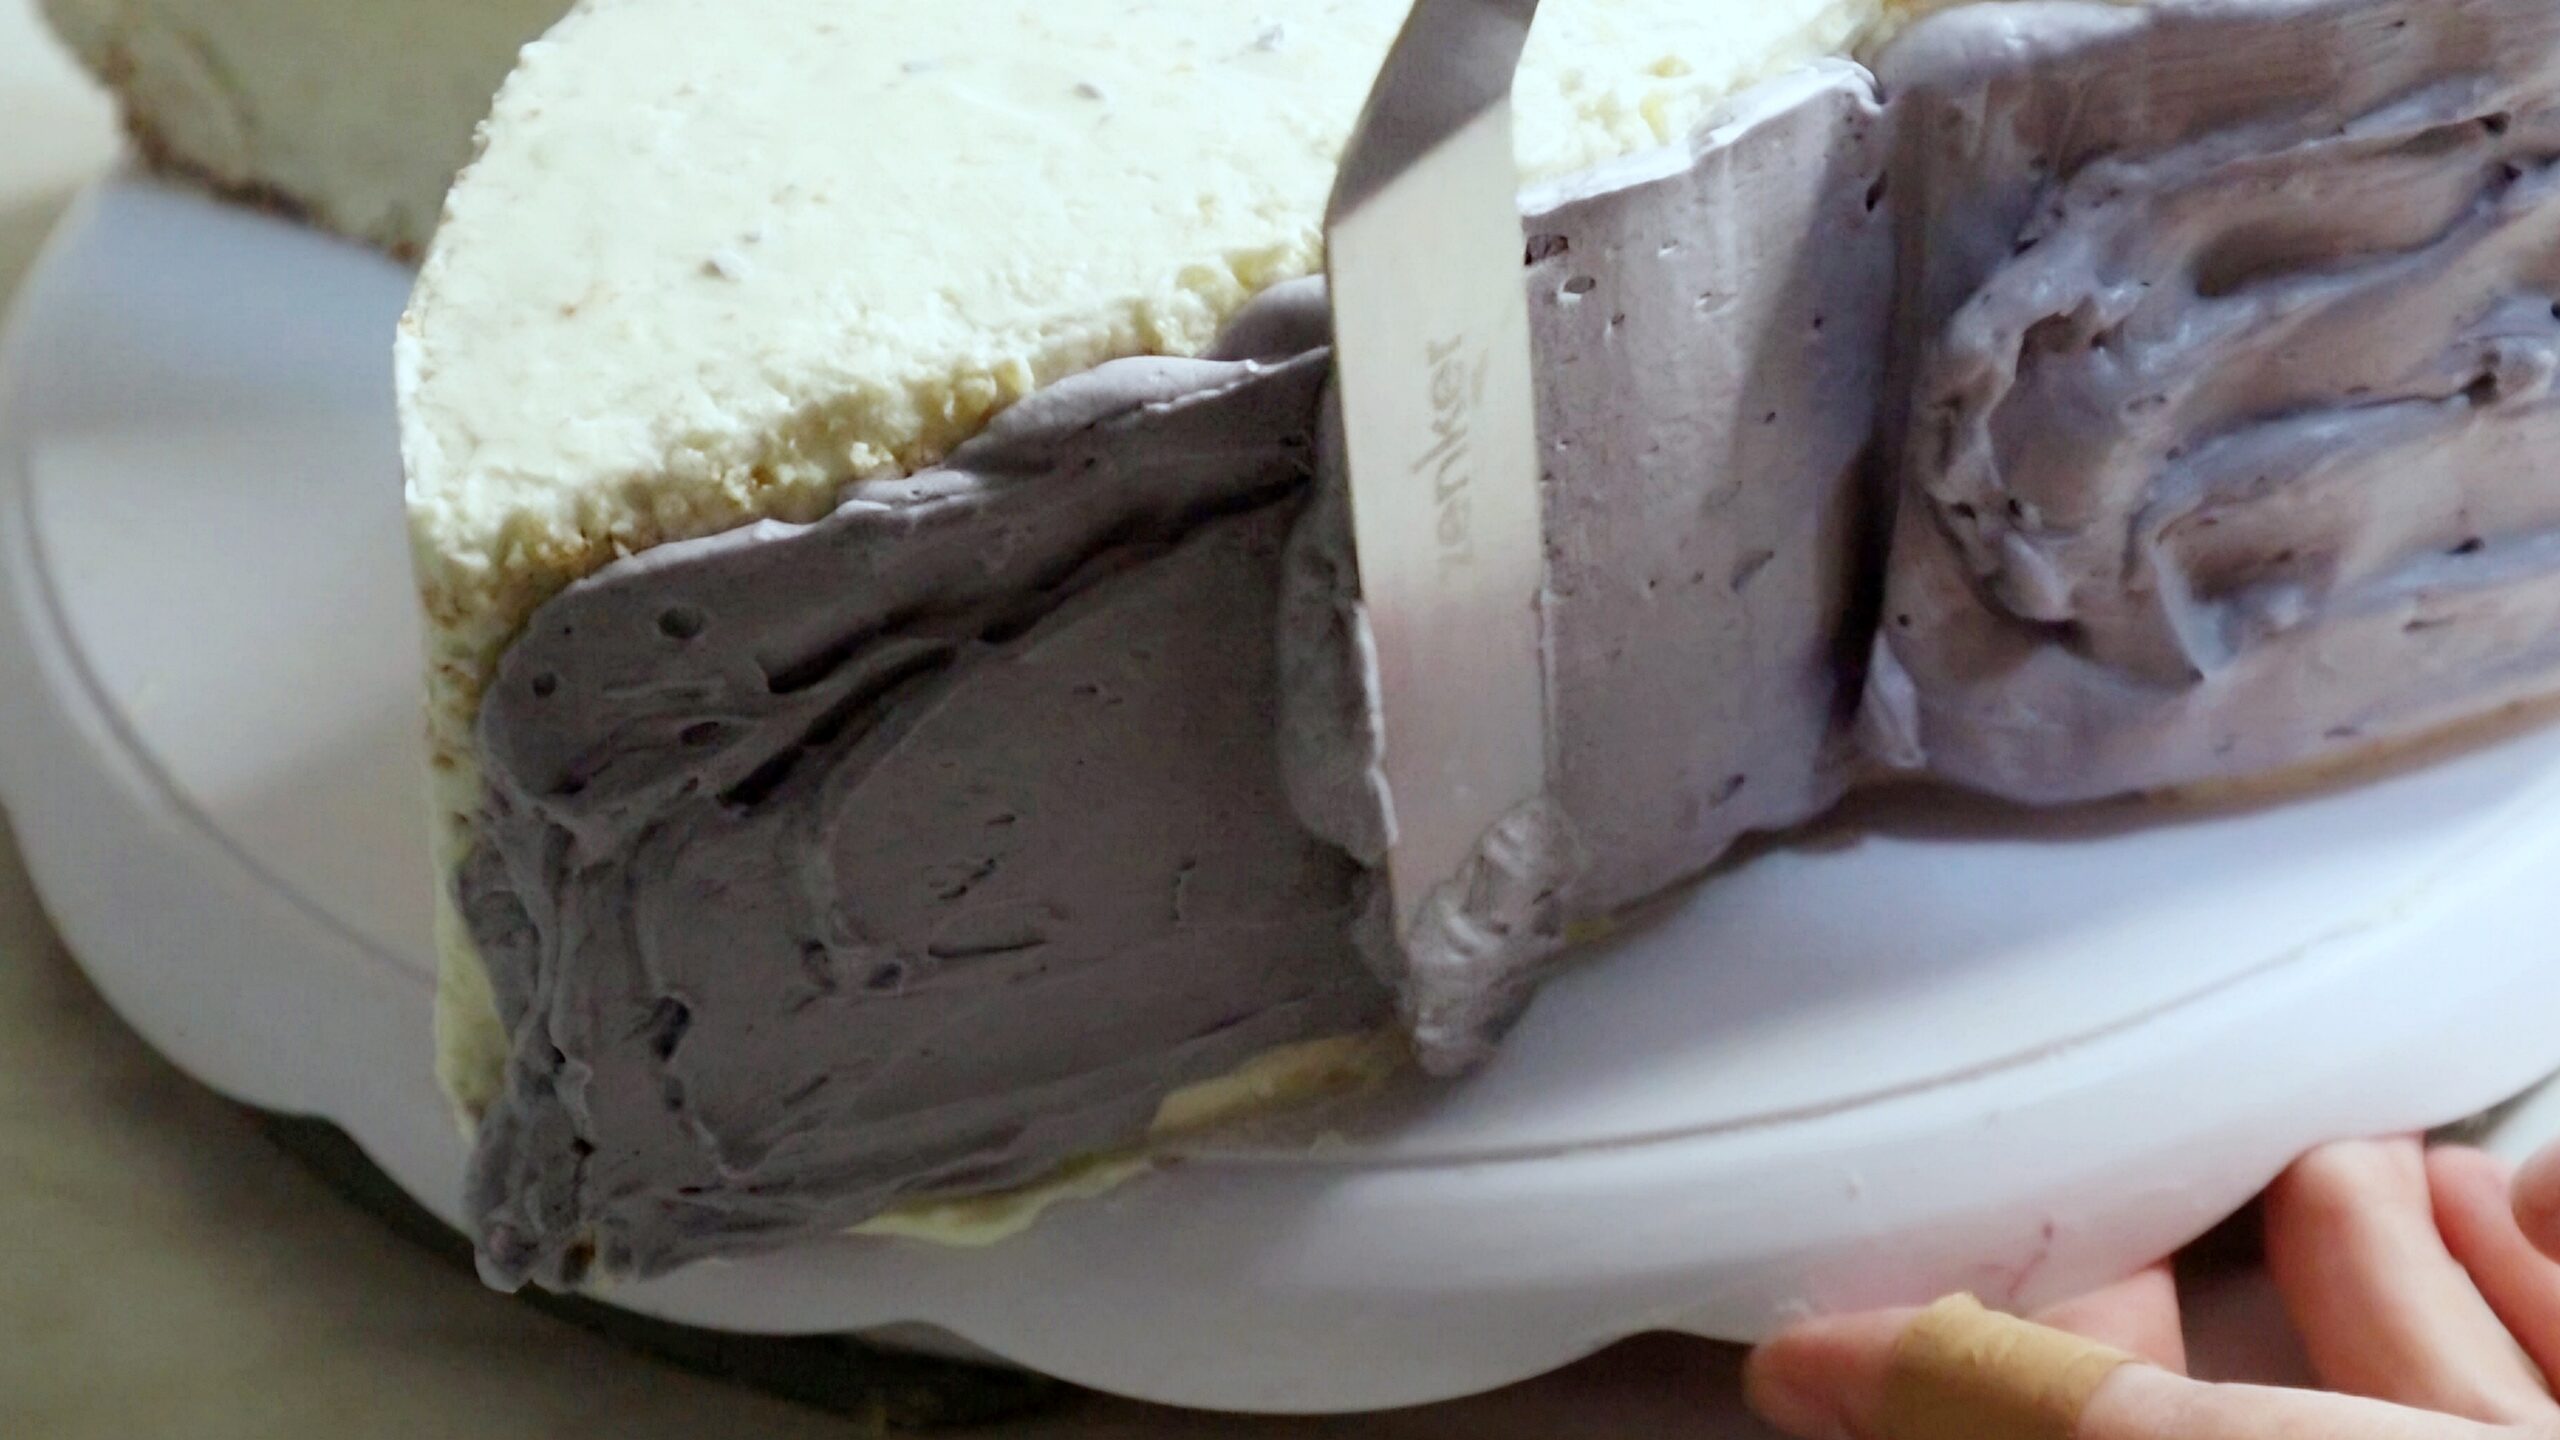
11. Use some more buttercream to crumb coat the parts of the cake that used to be inside of the cake and then, once again, put it in the freezer for at least half an hour.
12. For the outer layer of the cake you can colour the buttercream with food colouring – I used purple colour – or keep the natural white colour. Pipe the buttercream all around the cake and spread it evenly by using an offset spatula and a cake scraper.
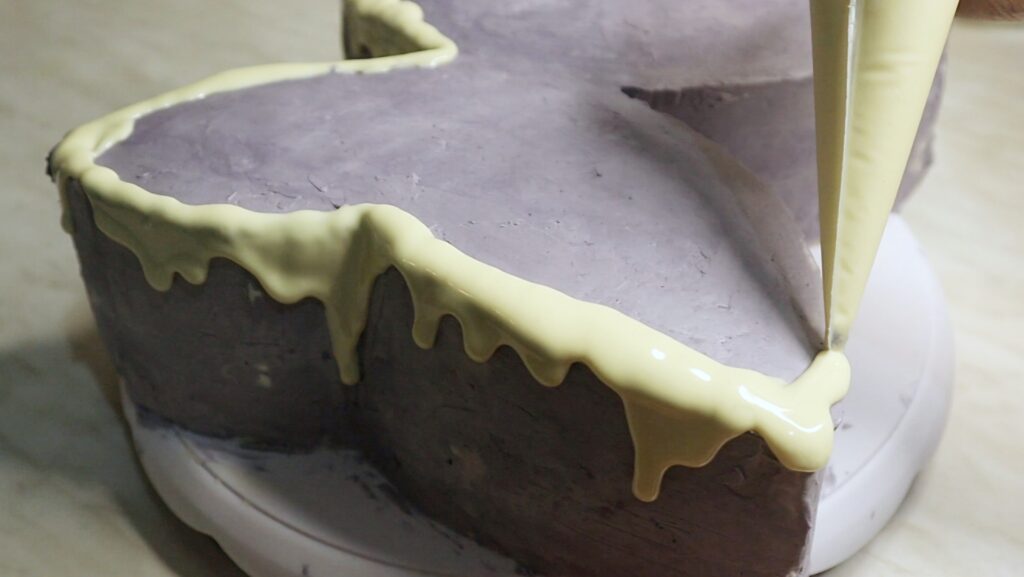
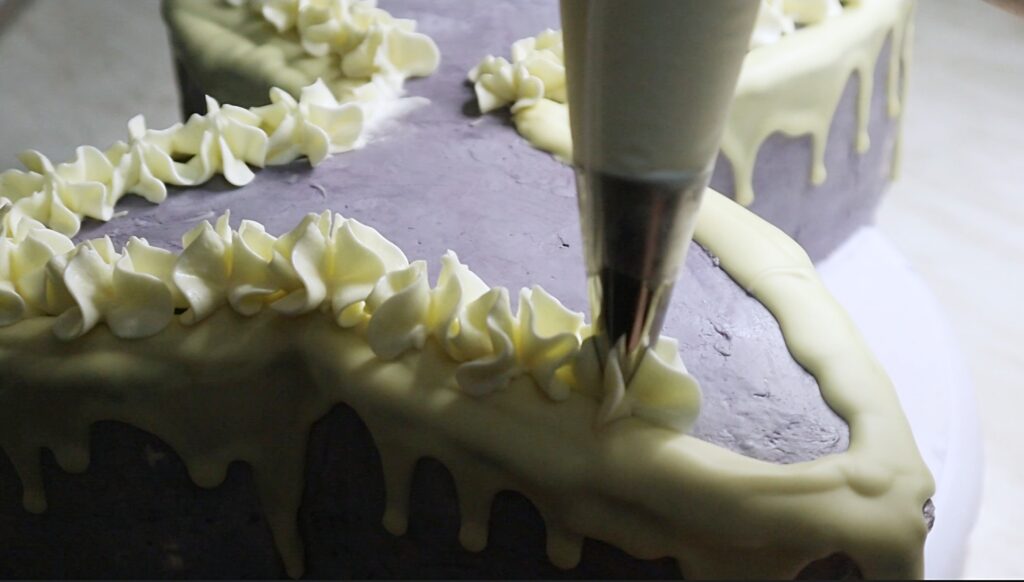
12. The rest of the decoration is completely up to you! 🙂 I used chocolate couverture to make the white chocolate drip, silver edible pearls and buttercream for swirls around the edges of the cake as seen in the photo below.
And that is everything! 😊

If you have any questions about the recipe you can leave them in the comments at the bottom of the page.
If you try the recipe, let me know in the comments and share your results – feedback would be much appreciated! Also don’t forget to tag me if you share a photo of your blueberry butterfly cake on Instagram so I can see your masterpieces! 😊
Here is a YouTube video tutorial for blueberry butterfly cake: