
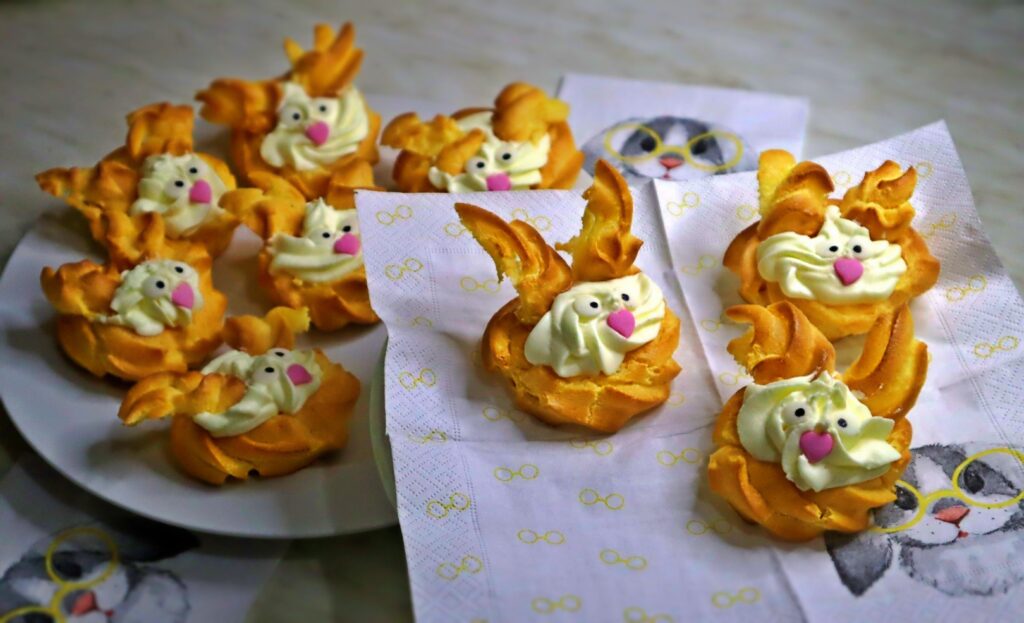
Easter is right around the corner which also means now it is finally time for some Easter baking. 😊 Today I will share with you my first recipe – bunnies made from choux pastry, filled with simple yet delicious vanilla cream, and topped with some whipped cream.
If you would also like to watch an instructional video, you can find the video at the bottom of the page or on my YouTube channel @bakingwithnika. I recommend watching the video while still reading through the written recipe, simply to make sure that you don`t miss anything.
Always read the entire recipe before you start baking to make sure that you have all of the ingredients and baking tools ready to use when you need them.
INGREDIENTS (for about 11-13 bunnies):
CHOUX PASTRY:
- 63 ml (whole) milk
- 63 ml water
- 50 g butter
- 4 g vanilla sugar
- a pinch of salt
- 95 g flour (I used type 405 – pastry flour)
- 125 g eggs (about 3 medium size eggs)

VANILLA CREAM:
- 200 ml + 50 ml (whole) milk
- 25 g instant vanilla pudding mix
- 2 egg yolks
- 1 tsp rum
- 4 g vanilla sugar
- 55 g granulated white sugar
DECORATION:
- edible sugar eyes
- 200 ml heavy whipping cream
- edible sugar hearts, pearls, etc. for noses
INSTRUCTIONS FOR CHOUX PASTRY:
1. Preheat your oven to 220°C.
2. First add milk, water, butter, vanilla sugar, and salt into a cooking pot. Place it on the cooktop and bring the mixture to boil. Make sure to keep stirring at all times with a wooden spoon or a silicone spatula.
3. As soon as it is boiling, carefully add flour and mix for about a minute until the mixture forms the shape of a ball and doesn’t stick to the sides of the cooking pot.
4. Prepare a stand mixer with a paddle attachment and put the mixture into a mixer bowl.
5. Mix for about a minute on a medium speed so the soon-to-be choux pastry slightly cools down – otherwise, eggs that will be added in the next step could coagulate.
6. When the mixture is no longer boiling hot, start adding eggs while keeping the mixer on a medium speed. Eggs must be added in intervals, not all at once, or the pastry will end up being too runny.
7. Perfect choux pastry sticks to the side of the bowl, however, it is not too runny. If you draw a line across the pastry with a spatula, the line should slowly disappear.
8. Prepare a piping bag and a piping tip. The tip I used is #1 Wilton open star tip which allowed me to make beautiful swirls.
9. Fill the piping bag (don’t forget to put in the piping tip first!) with choux pastry using a dough card or a spatula.
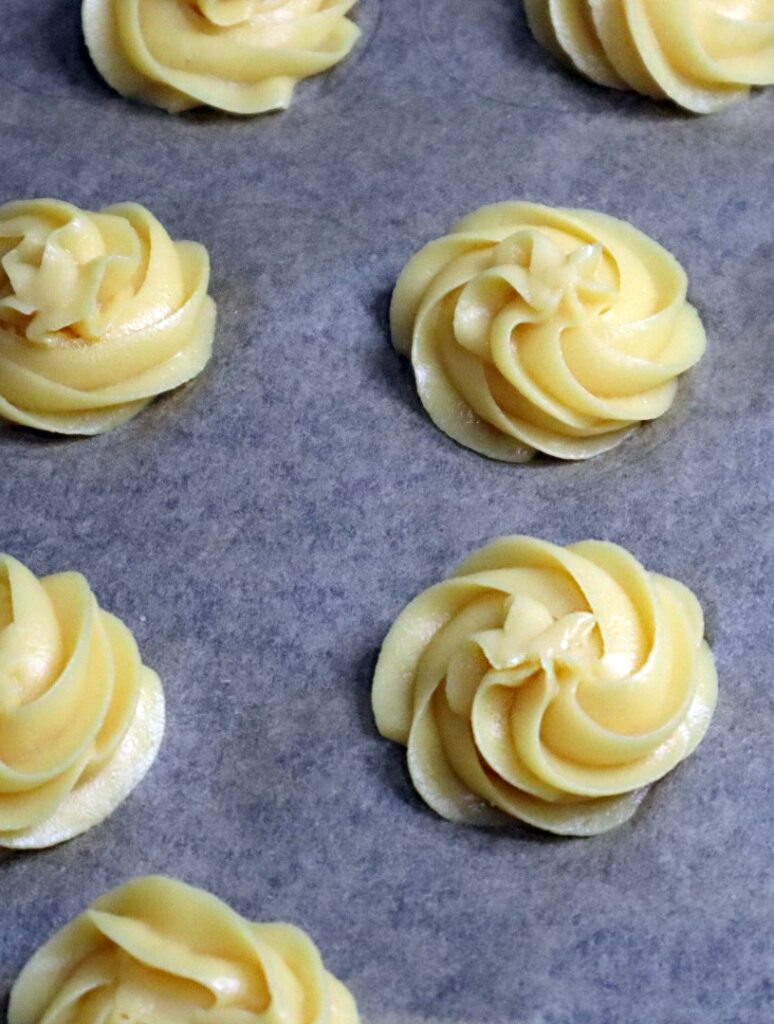
10. Prepare a baking tray lined with baking paper. When piping make slow circular movements with the bag to form circle-shaped swirls, each with a 3 cm radius. (see Photo 1)
11. After you are finished with piping, wet the tip of your finger with water and tap the top tip of each pastry swirl.
12. Put the baking tray into the oven which should be preheated to 220°C and bake the pastry for about 15 minutes. Do not open the oven while the pastry is baking – if you do, the pastry will quite literally collapse and will have no volume.
13. After 15 minutes change the temperature of the oven to 160°C and bake for another 10 minutes.
14. Then take the tray out of the oven and leave choux pastry swirls on the tray to cool down.
15. While you are waiting for pastries to cool down, you can prepare vanilla cream – you can find the instructions for the cream under the instructions for choux pastry.
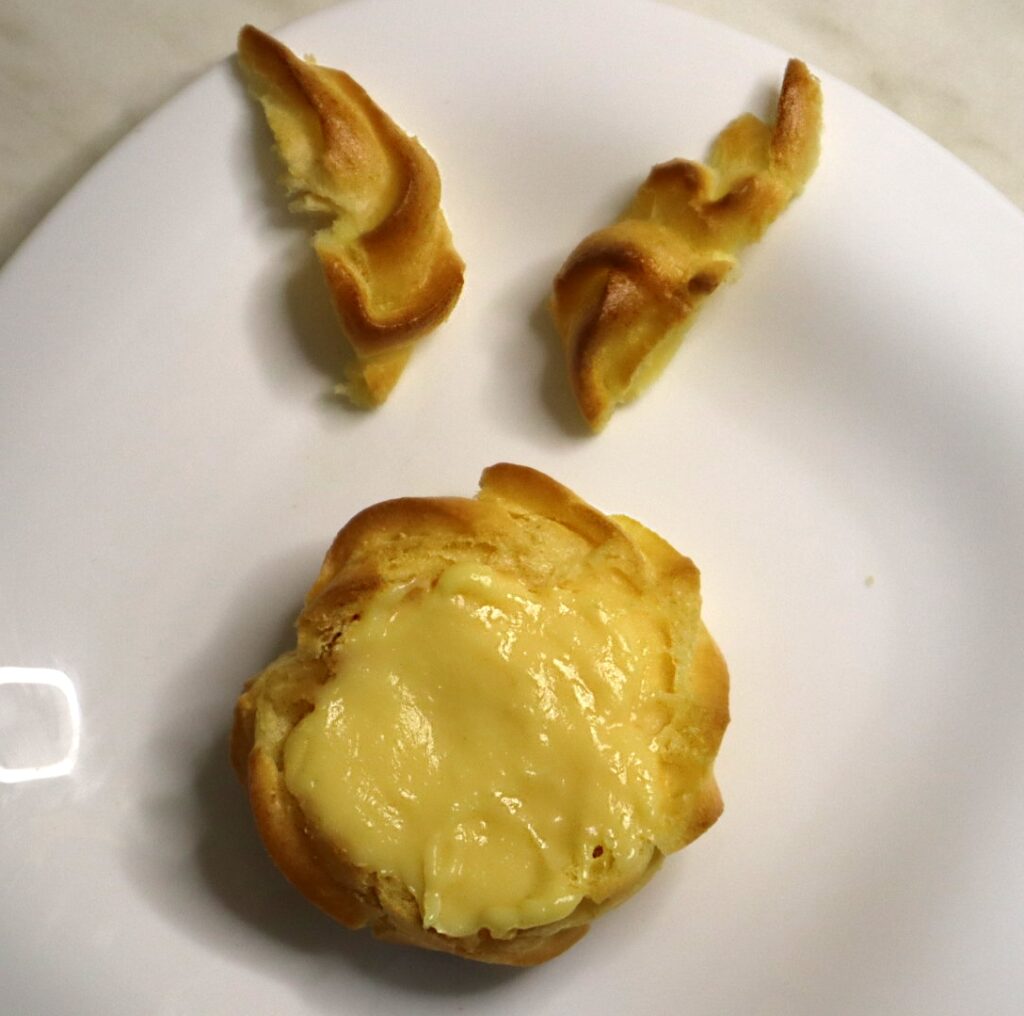
16. When pastries are cooled down, cut off the top of each pastry using a bread knife. However, make sure that you don`t cut off too little because then you will have trouble making ears.
17. Now you take each top and cut it in two halves. Those two halves will represent bunny ears so try to make them as even as possible.
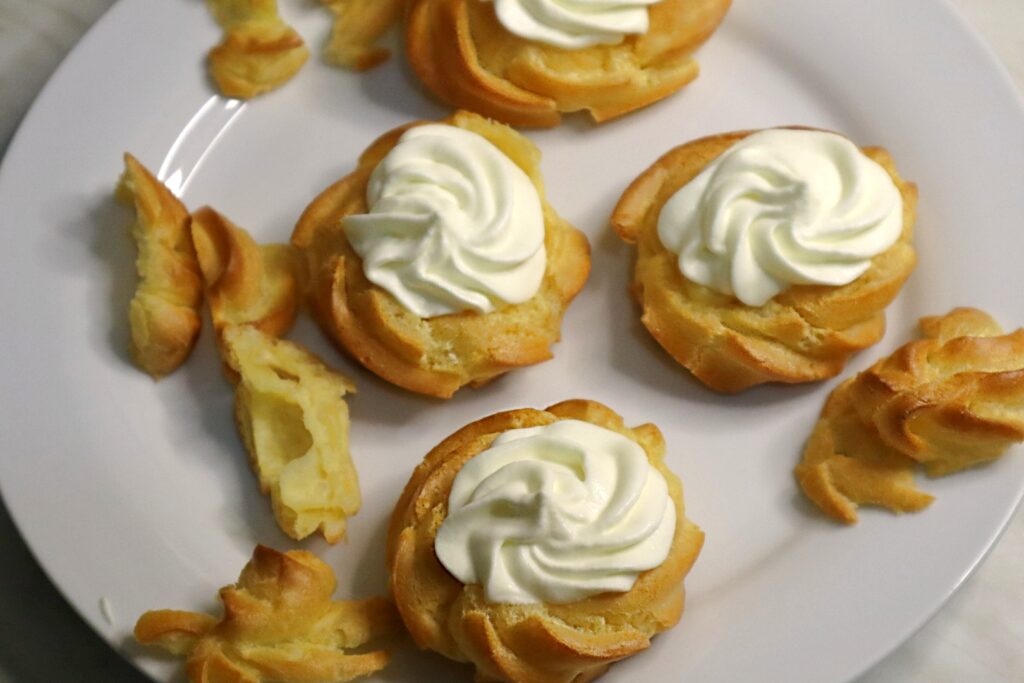
18. Take the bottom half of each pastry and fill it with warm vanilla cream by using a piping bag. It doesn’t really matter which piping tip you use since the filling will not be visible (I used #10 Wilton tip.). Be careful not to overfill the pastries. Fill from the bottom and up to the top until you are just about to reach the top edge – you can check the photo below for a better understanding. (see Photo 2)
19. Let the vanilla cream in the pastries cool down and while you wait, whip the whipping cream. Make sure to take the cream out of the fridge right before you are going to whip it and that the bowl you are going to use is not warm since then it will not want to form firm peaks and it will most likely end up overmixing.
20. Prepare a piping bag and a piping tip – once again I used #1 Wilton open star tip. The cream will be visible once your masterpiece is finished so I recommend that you also use some kind of an open star-shaped tip.
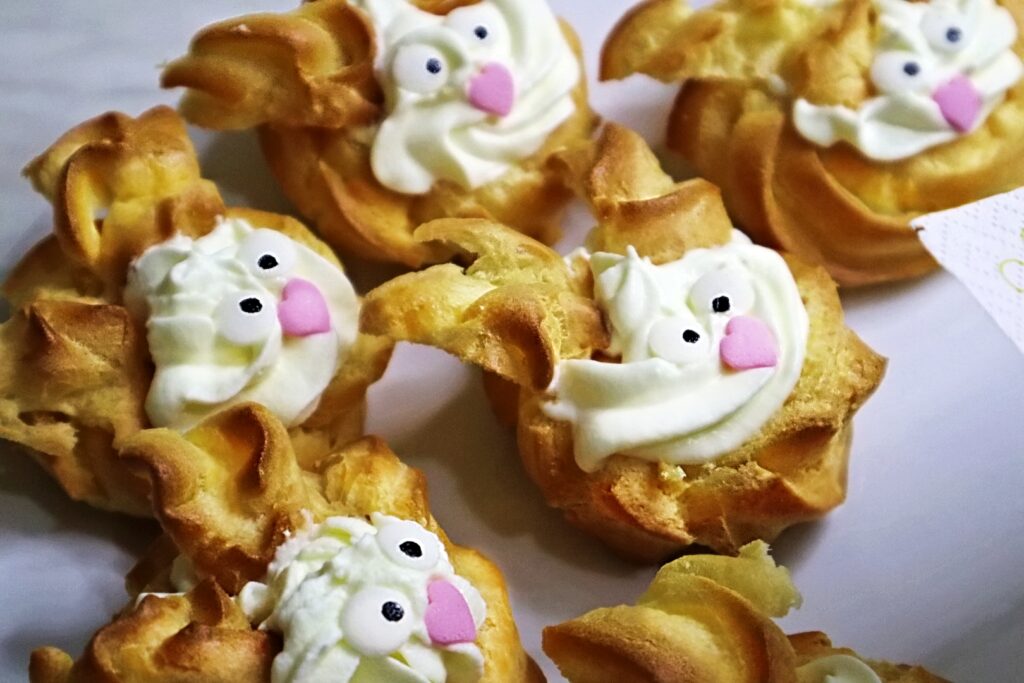
21. Fill the piping bag with whipped cream which should be firm enough so it will not slide off the pastry. Before you pipe on the vanilla cream make sure that it is completely cooled down otherwise whipped cream will lose its shape, become runny, and slide off. Now that I have scared you with some whipped cream facts, pipe it on the vanilla cream. In the photo under the instructions you can see the recommended amount of cream you should put on each pastry (see Photo 3) and if you watch the video you can see what it means to pipe on a little too much cream (😂) – it is actually not wrong to pipe on that much, however, visually I prefer that there is less cream on each pastry. At the end of the day, it honestly depends on personal taste.
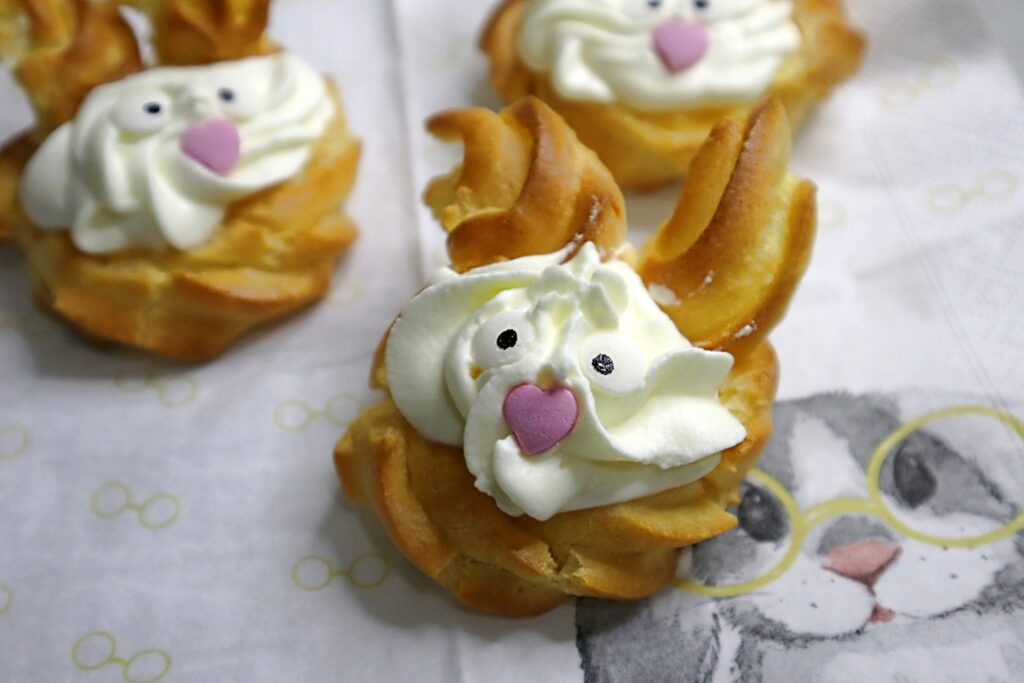
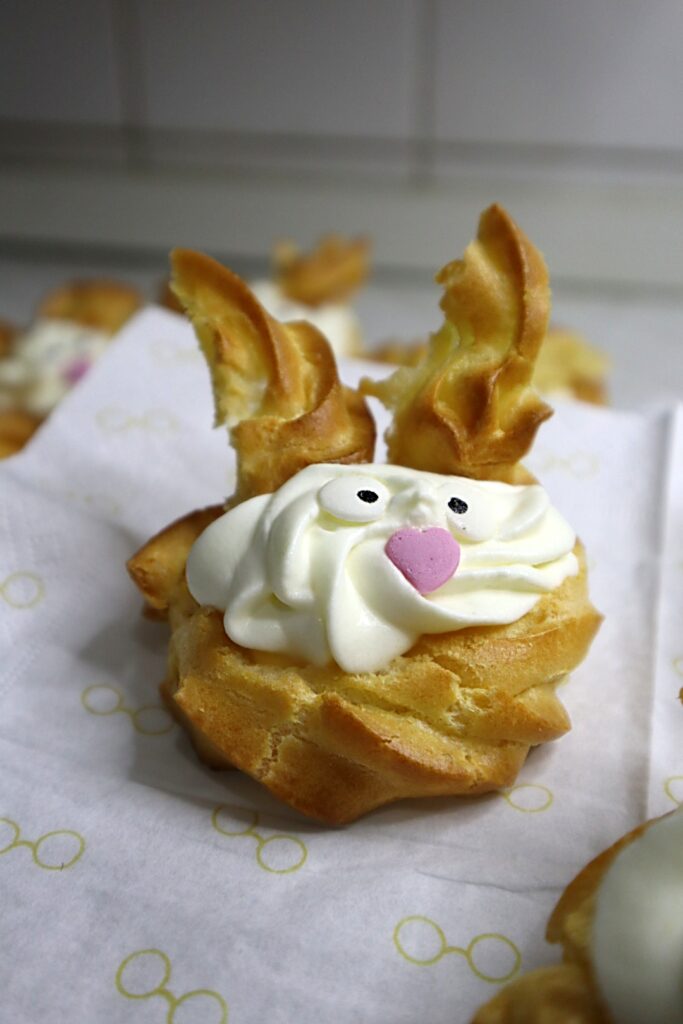
22. Now you can take the two halves that you previously got from the top of the pastry and put one half on each side of the whipped cream as seen in the photo below.
23. To finish up the appearance of a bunny, add two sugar-edible eyes slightly under the ears and a sugar-edible heart for the nose under the eyes. For a better understanding, see the photo under this paragraph. If you have trouble finding sugar eyes, you can also use chocolate and make them yourself.
INSTRUCTIONS FOR VANILLA CREAM:
1. Bring to boil 200 ml of milk.
2. In a separate bowl mix 50 ml of milk, egg yolks, rum, granulated and vanilla sugar, and instant vanilla pudding mix. Make sure that you mix all of the ingredients very well and that there are no lumps.
3. As soon as the milk is boiling, pour in the vanilla mixture. Make sure to whisk all the time as you are adding the mixture and keep mixing for the next three minutes. After you have been cooking the cream for three minutes its consistency should be much thicker than it was at the start.
4. Let the cream cool down just enough that it is no longer boiling hot so you will not burn yourself while holding the piping bag. While it’s cooling down, mix it every once in a while otherwise a slightly thicker layer will form at the top of it.
And that is everything!
If you have any questions about the recipe you can leave them in the comments at the bottom of the page.
If you try the recipe, let me know in the comments and share your results – feedback would be much appreciated! Also don’t forget to tag me if you share a photo of your bunnies made from choux pastry on Instagram so I can see your masterpieces! 😊
Here is a YouTube video tutorial for bunnies made from choux pastry: